RobustMQ Public MQTT Server
This guide introduces how to use the public MQTT server provided by RobustMQ for testing and development.
Server Information
Endpoints
| Protocol | Address | Port | Description |
|---|---|---|---|
| MQTT TCP | 117.72.92.117 | 1883 | Standard MQTT connection |
| MQTT SSL/TLS | 117.72.92.117 | 1884 | Encrypted MQTT connection |
| MQTT WebSocket | 117.72.92.117 | 1093 | WebSocket connection |
| MQTT WebSocket SSL | 117.72.92.117 | 1094 | Encrypted WebSocket connection |
| MQTT QUIC | 117.72.92.117 | 1083 | QUIC protocol connection |
Authentication
- Username:
robustmq - Password:
robustmq
Management Interface
- Dashboard: http://117.72.92.117:3000/
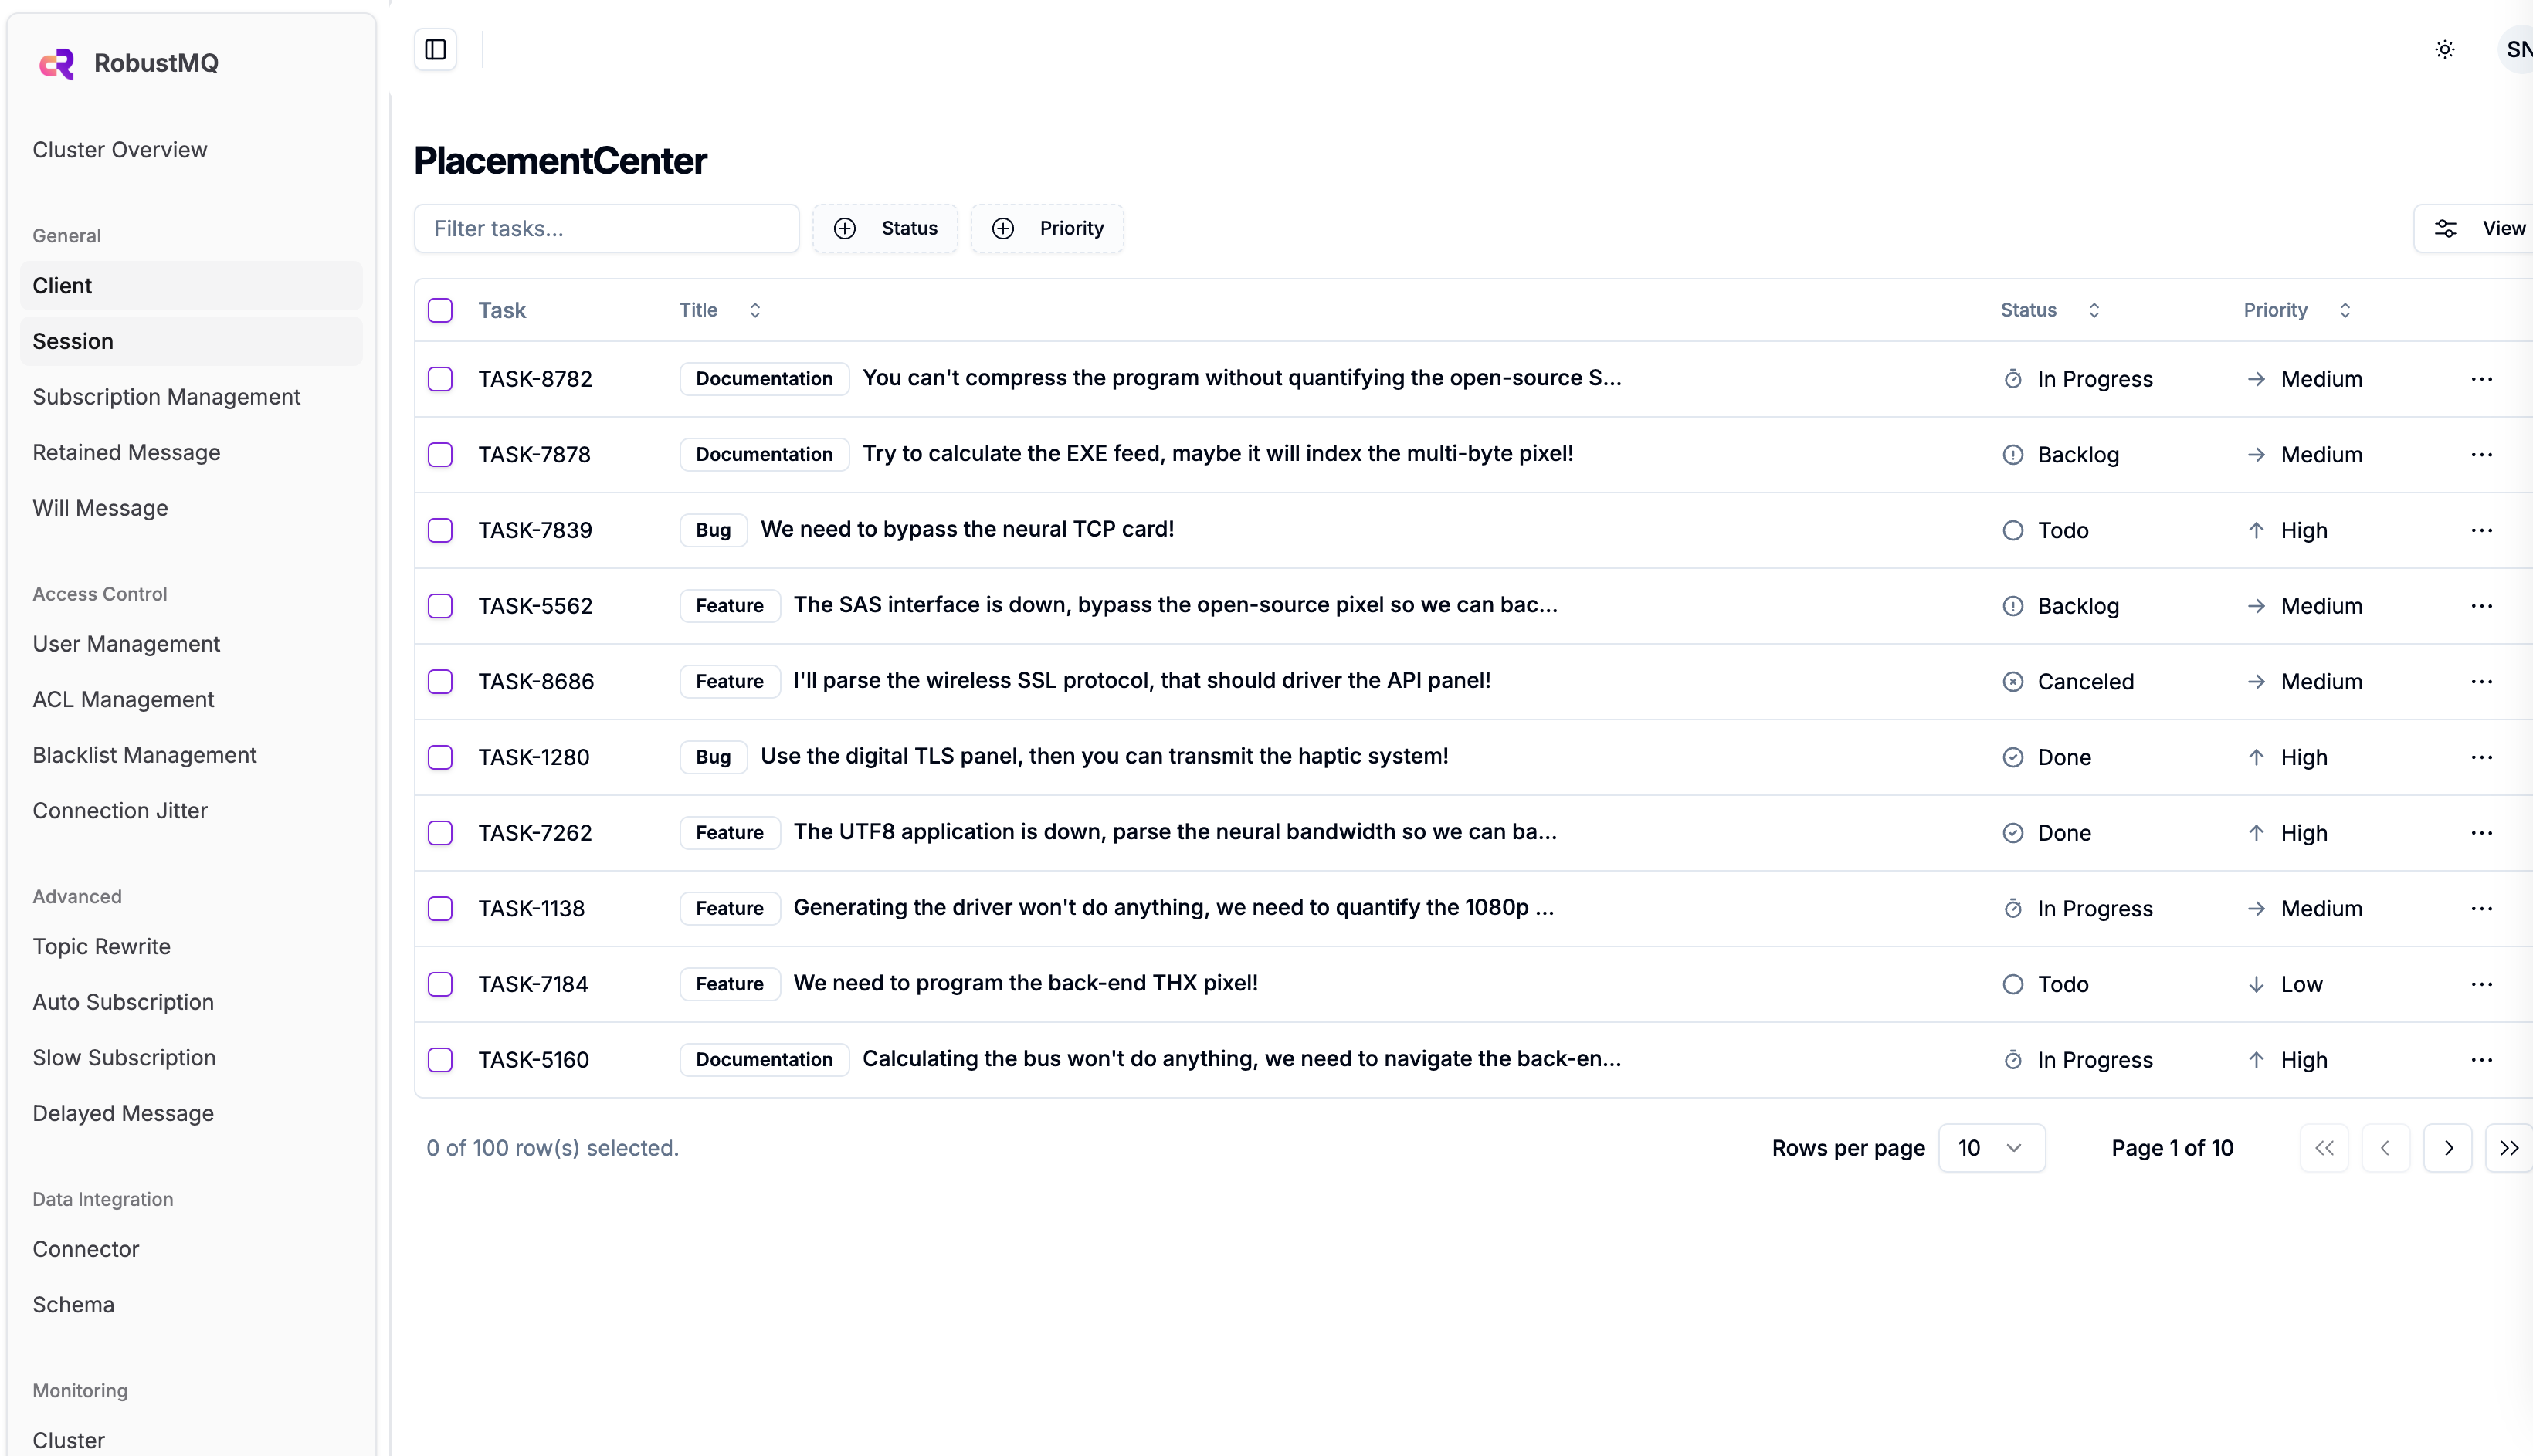
Quick Experience
Using MQTTX Command Line Tool
1. Send Messages
bash
# Send simple message
mqttx pub -h 117.72.92.117 -p 1883 -u robustmq -P robustmq -t "test/topic" -m "Hello RobustMQ!"

# Send QoS 1 message
mqttx pub -h 117.72.92.117 -p 1883 -u robustmq -P robustmq -t "test/qos1" -m "QoS 1 message" -q 1

# Send retained message
mqttx pub -h 117.72.92.117 -p 1883 -u robustmq -P robustmq -t "test/retained" -m "Retained message" -r

# Send JSON format message
mqttx pub -h 117.72.92.117 -p 1883 -u robustmq -P robustmq -t "sensors/temperature" -m '{"value": 25.5, "unit": "celsius"}'
2. Subscribe to Messages
bash
# Subscribe to single topic
mqttx sub -h 117.72.92.117 -p 1883 -u robustmq -P robustmq -t "test/topic"

# Subscribe to wildcard topics
mqttx sub -h 117.72.92.117 -p 1883 -u robustmq -P robustmq -t "test/+"  # Single-level wildcard
mqttx sub -h 117.72.92.117 -p 1883 -u robustmq -P robustmq -t "test/#"  # Multi-level wildcard

# Subscribe and display detailed information
mqttx sub -h 117.72.92.117 -p 1883 -u robustmq -P robustmq -t "test/topic" --verbose
3. Performance Testing
bash
# Publish performance test
mqttx bench pub -h 117.72.92.117 -p 1883 -u robustmq -P robustmq -t "test/bench" -c 10 -C 100

# Subscribe performance test
mqttx bench sub -h 117.72.92.117 -p 1883 -u robustmq -P robustmq -t "test/bench" -c 50
Using MQTTX GUI Client
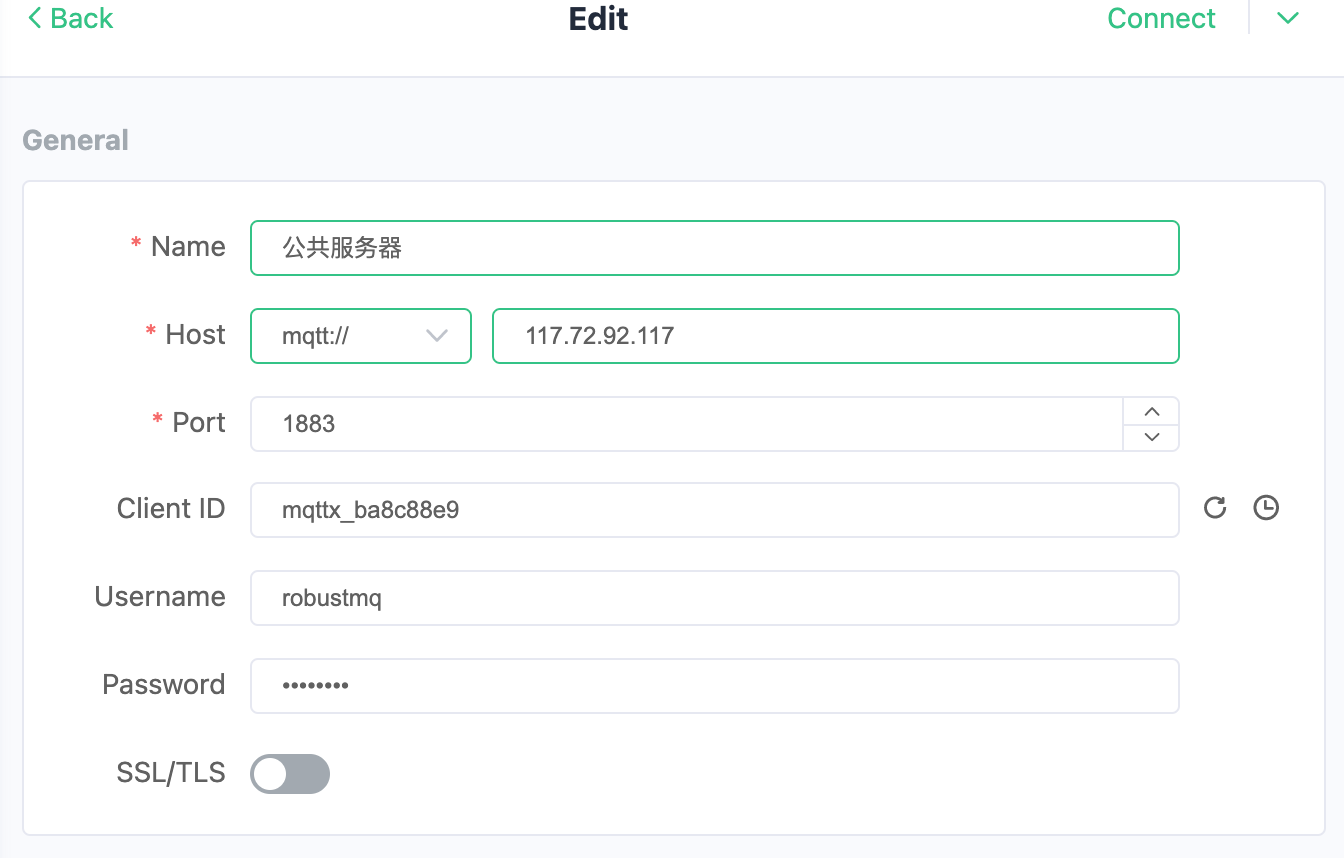
1. Connection Configuration
- Host: 117.72.92.117
- Port: 1883
- Username: robustmq
- Password: robustmq
- Client ID: Custom
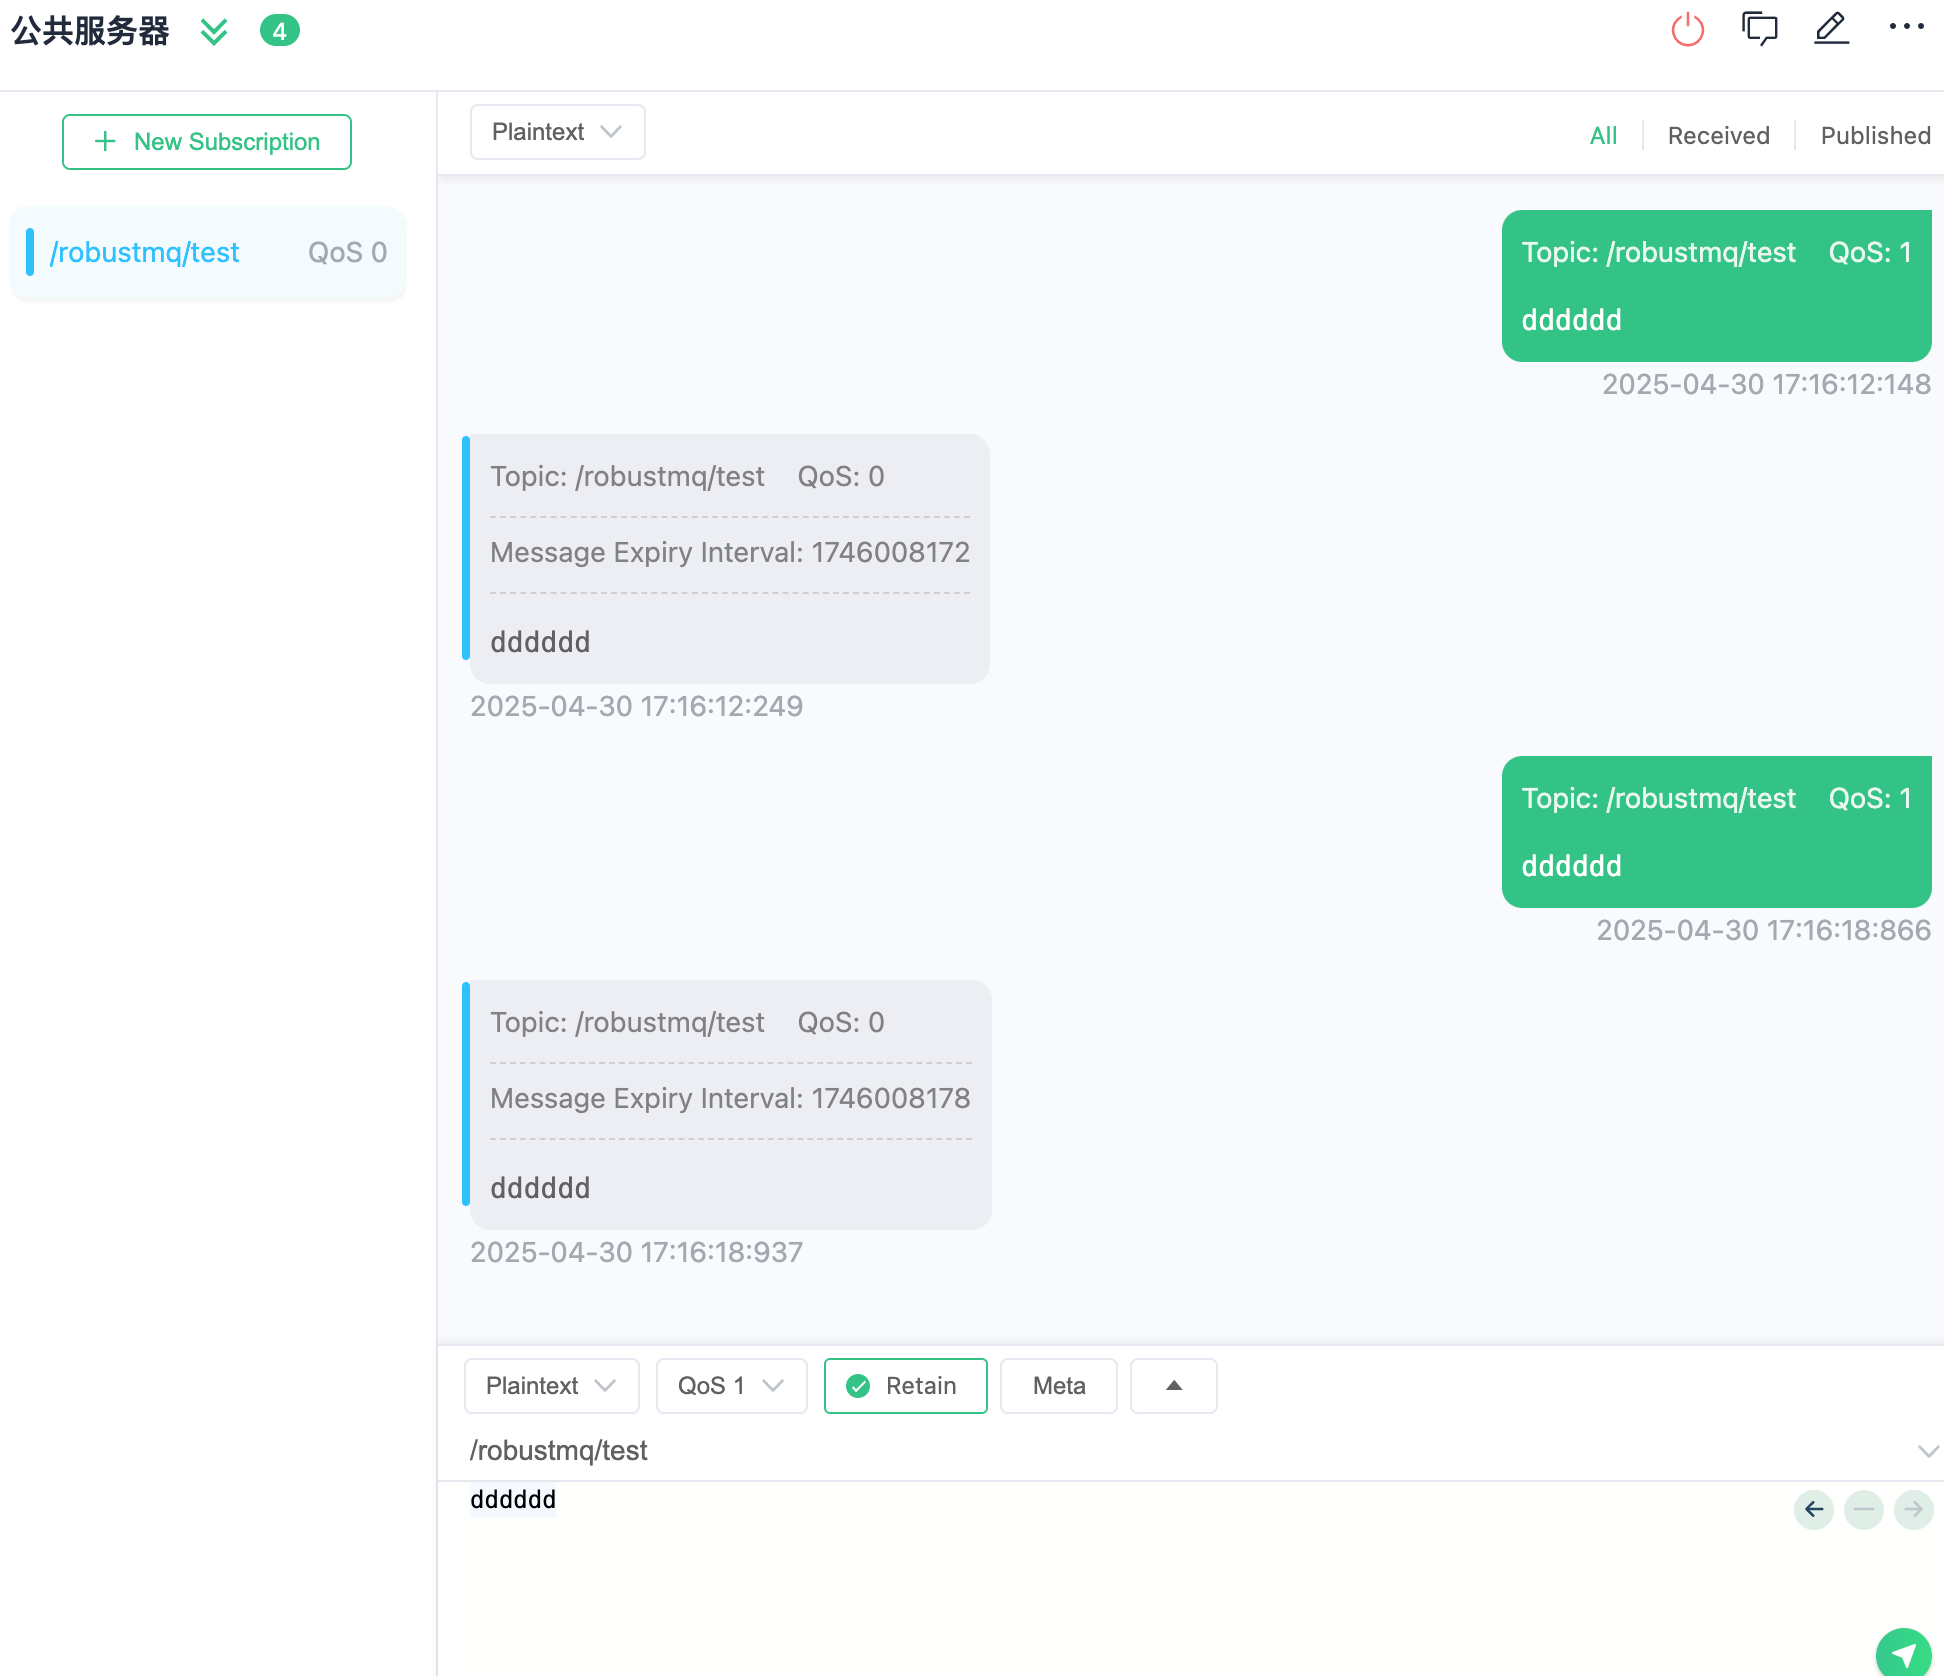
2. Publish and Subscribe
After connecting successfully, you can:
- Create subscriptions to receive messages
- Publish messages to specified topics
- View real-time message flow
Complete Example
Step 1: Subscribe to Messages
bash
# Terminal 1: Subscribe to temperature sensor data
mqttx sub -h 117.72.92.117 -p 1883 -u robustmq -P robustmq -t "sensors/temperature" --verbose
Step 2: Send Messages
bash
# Terminal 2: Send temperature data
mqttx pub -h 117.72.92.117 -p 1883 -u robustmq -P robustmq -t "sensors/temperature" -m '{"sensor": "temp-001", "value": 23.5, "unit": "celsius", "timestamp": "2024-01-01T12:00:00Z"}'
Step 3: View Dashboard
Visit http://117.72.92.117:3000/ to view real-time connections and message statistics.
Important Notes
- Public Server Limitations: This is a public server for testing purposes, do not use in production environments
- Message Retention: Messages are not permanently retained, please process them promptly
- Connection Limits: Please use reasonably to avoid excessive resource consumption
- Security Reminder: Do not transmit sensitive information in messages
Supported Protocol Features
- ✅ MQTT 3.1.1
- ✅ MQTT 5.0
- ✅ QoS 0, 1, 2
- ✅ Retained Messages
- ✅ Will Messages
- ✅ Topic Wildcards
- ✅ SSL/TLS Encryption
- ✅ WebSocket Support
- ✅ QUIC Protocol Support